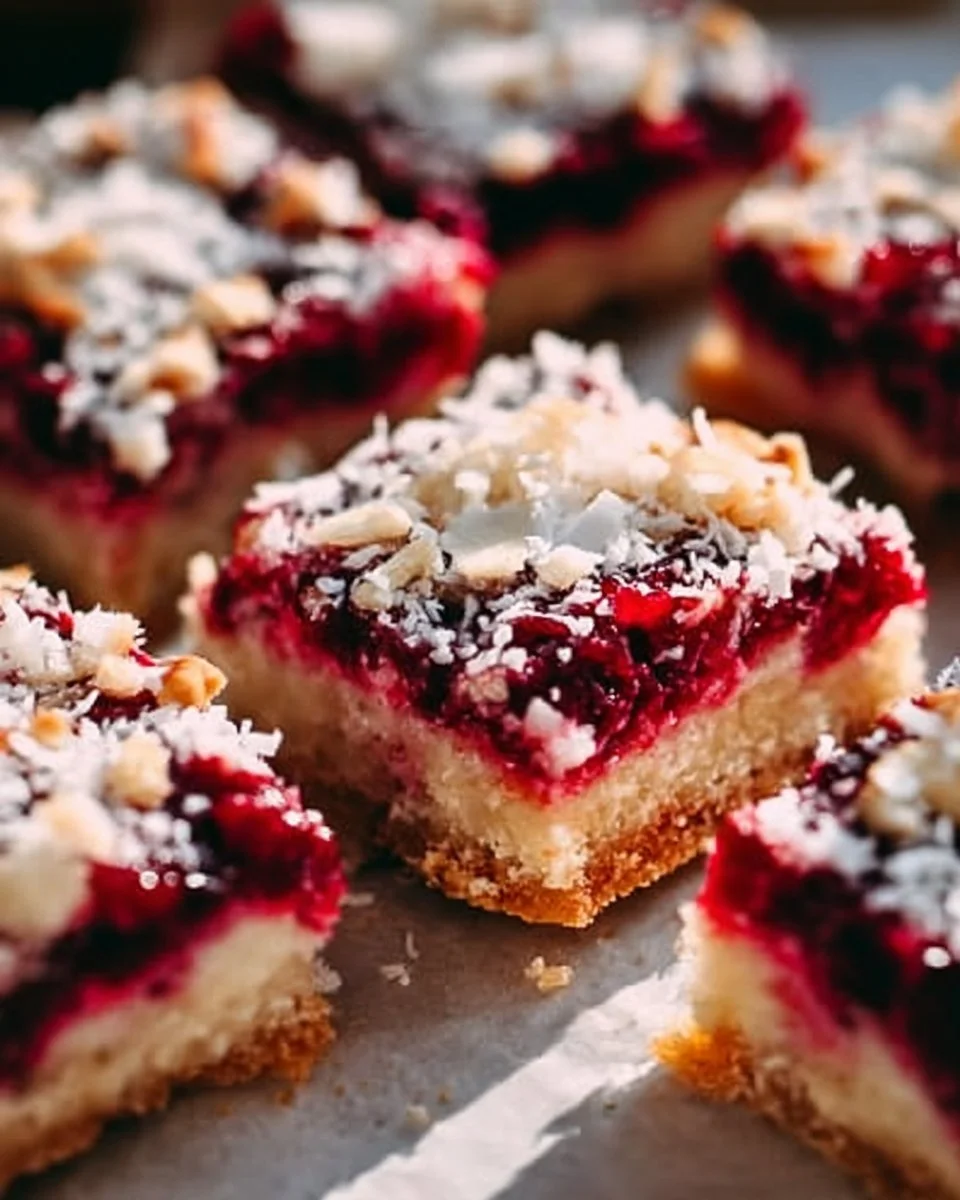
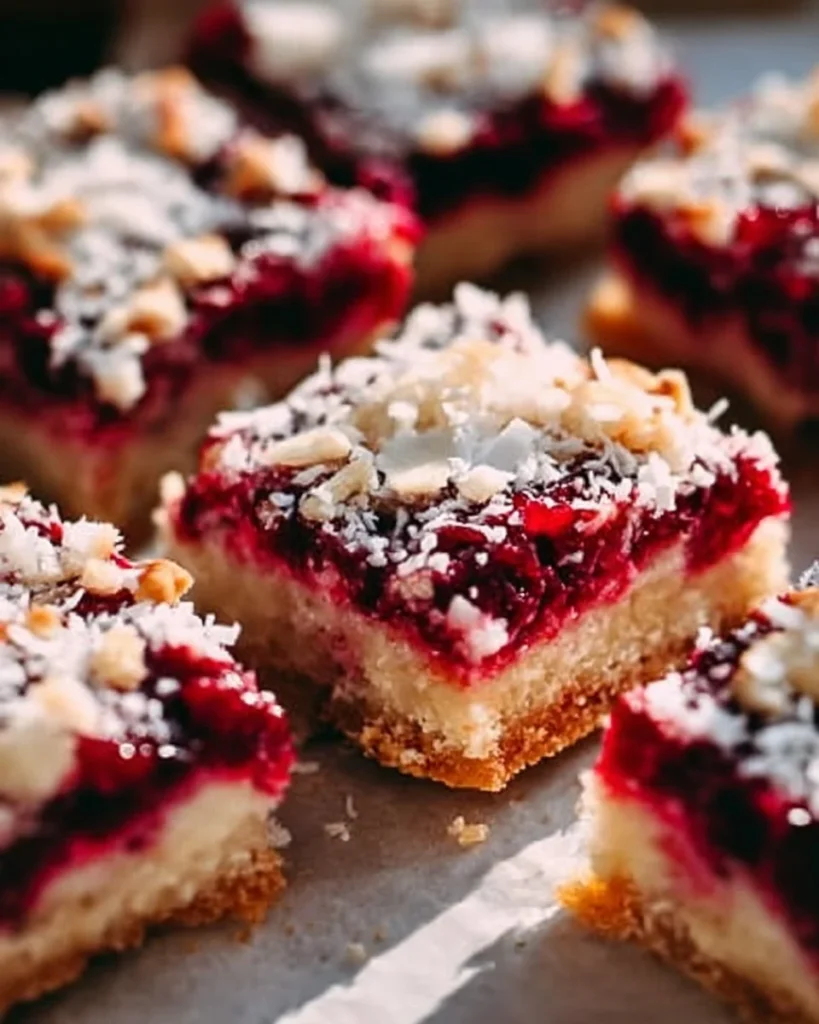
Delicious Raspberry Coconut Magic Bars bring bright fruit and warm coconut to a rich, chewy bar that feels like a treat from a home kitchen. This dish grows from classic magic bar ideas: a buttery crust, a sweet milk topping, and fruit and coconut that melt into one another as they bake. The roots of magic bars sit in simple desserts that mix pantry items into a layered, gooey bite that is easy to make and hard to forget. When you bake these, your kitchen fills with a sweet smell of toasted coconut and warm butter. The first bite gives a soft chew from the condensed milk, a slight crunch from the crust, and a fresh burst from the raspberries. The tart raspberries cut the sweet, creamy center so each square tastes bright and balanced. The texture moves from crisp edge to a tender center. People love this recipe because it feels both simple and special. It uses small steps and small bowls, so a new cook can follow it and make a dessert that wins praise. Serve it at a picnic or a family night and watch it disappear. If you like fruity baked bars, you might also enjoy an apple bar with a similar homely charm; see our apple bar recipe for another idea. This raspberry coconut version keeps the same comfort but adds a tropical twist that makes it a new favorite. Make it for a weekday treat or for a weekend guest and feel proud today.
Why make this recipe
- Easy for beginners: The steps use common moves like mixing and pressing. You do not need special skill or tools.
- Fast and low fuss: It uses one pan and bakes in about 25–30 minutes. You save time on prep and clean up.
- Pantry friendly: Most items come from a normal store cupboard. You can often make it with what you have on hand.
- Crowd-pleaser: The mix of sweet, tart, and chewy hits many tastes. It works for kids and adults.
- Gluten-free by design: This version uses gluten-free flour so people with gluten needs can enjoy it.
- Cost effective: The recipe uses small amounts of simple ingredients, so you get many bars for a low price.
- Great for events: You can cut bars to any size and serve them at potlucks, picnics, or with tea.
This specific version is better than some other magic bars because it balances tart raspberries with rich condensed milk and toasted coconut. That contrast makes the bars taste less one-note sweet. The simple crust keeps prep fast and avoids long chilling or blind baking. If you want other fruit and nut ideas, check a related bar that pairs bright flavors with nuts in a different way.
How to make Delicious Raspberry Coconut Magic Bars
The goal is to build a sturdy crust, lock in a sweet, gooey center, and keep bursts of fresh raspberry through the bake. First we make a butter-bound crust from gluten-free flour, coconut, brown sugar, and salt. The melted butter wets the dry mix and helps the crust hold as it bakes. Pressing the mix into the pan creates a compact base so the top layer can set on a firm bed.
Next we pour sweetened condensed milk over the crust. Condensed milk adds sugar and moisture that create a soft, chewy layer as it cooks. It binds the coconut and raspberries and gives a glossy finish. We do not stir the milk into the crust because we want clear layers: a baked base and a custard-like top.
Finally, we fold or tuck the raspberries into the milk layer. Fresh raspberries release juice while baking. Folding them gently keeps whole bits and prevents the milk from turning pink all over. The goal is scattered pockets of fruit, not a single fruit sauce. The bake time lets edges brown and the center set. You will know it is ready when the edges show a light gold and the center no longer jiggles.
If you enjoy simple fruit and nut bars that mix soft and crisp textures, you may also like the idea behind the blackberry pistachio dream bars, which pair similar logic with different add-ins.
Ingredients
- 1 cup gluten-free flour
- 1/2 cup unsweetened shredded coconut
- 1 cup fresh raspberries
- 1/2 cup butter, melted
- 1 cup sweetened condensed milk
- 1/4 cup brown sugar
- 1/2 teaspoon vanilla extract
- 1/4 teaspoon salt
Choose the best items by simple checks: pick fresh raspberries that are firm and bright red with no mold or soft spots. For coconut, use unsweetened shredded coconut with a pale color and no off smell. Choose a good brand of sweetened condensed milk in a sealed can with no dents. Use real butter for the best flavor and reliable melting. For gluten-free flour, use a blend that lists rice or tapioca starch and xanthan gum if you want a more stable crust.
Substitutions:
- For dairy-free: use a dairy-free condensed milk and a plant-based butter. Note texture may be slightly softer.
- For lower sugar: use less brown sugar in the crust and a lower-sugar condensed milk alternative, but expect less chew and more tart balance.
- For nut-free texture change: add 2 tablespoons of oats or almond meal (if not nut-free) to the crust for more bite.
Directions
-
Preheat and prepare the pan.
- Preheat the oven to 350°F (175°C). Grease an 8×8 inch baking pan with butter or oil and line it with parchment if you like. The pan should look lightly glossy where the grease sits. This step stops the bars from sticking and makes it easy to lift them out later.
-
Mix the crust.
- In a medium bowl, stir together the gluten-free flour, shredded coconut, melted butter, brown sugar, and salt until the mix holds together when pressed. The color should be even and a bit shiny from the butter. You should feel a soft, slightly tacky dough. If it is dry, add a teaspoon more melted butter.
-
Press the crust into the pan.
- Press the mixture into the bottom of the prepared pan in an even layer. Use the bottom of a measuring cup to press it flat and dense. The surface should look smooth with no loose crumbs. A firm, pressed base makes a clean cut and a solid bite.
-
Add the sweetened condensed milk.
- Pour the sweetened condensed milk evenly over the crust. Tilt the pan if needed to spread it. The milk should form a pale, even layer that fills small gaps and comes close to the top of the crust without flooding the edges.
-
Add vanilla and raspberries.
- Stir the vanilla into the milk layer with a quick swirl, then gently fold in the raspberries or scatter them over the top. Do not mash the berries. You should see whole or half berries across the surface. The milk may turn a little pink near some berries; that is fine.
-
Bake until set.
- Bake for 25–30 minutes or until the edges turn golden brown and the center looks set. The top should not wobble when you nudge the pan gently. You may hear soft crackle as sugars caramelize near the edges.
-
Cool fully.
- Allow the pan to cool on a wire rack until it reaches room temperature. The inside will finish setting as it cools. The top should feel firm to a light touch and the edges will pull slightly away from the pan.
-
Cut and store.
- Run a thin knife around the pan edge and lift the bars on the parchment or invert if greased. Cut into squares once cool. Place squares in an airtight container.
Visual cues: the crust will go from pale to a light gold; the milk layer will tighten and no longer jiggle; raspberries will soften but keep shape rather than dissolve into a sauce.
How to serve Delicious Raspberry Coconut Magic Bars
- Simple plate: serve one warm or room temp square on a small dessert plate with a dusting of powdered sugar and a single fresh raspberry on top.
- With cream: add a spoon of whipped cream or a dollop of Greek yogurt to cut the sweet, and a small sprig of mint for color.
- Afternoon tea: pair with black tea or an herbal tea like chamomile. The tea’s warmth balances the dense sweet. For a cold drink, serve with sparkling water and a slice of lemon.
- Party platter: cut bars into bite-size squares and place on a tray with mixed berries and toasted coconut flakes for a neat buffet look.
Plate to look pro: use a small offset spatula to lift squares cleanly to plates. Add a thin line of raspberry sauce or a few loose coconut flakes beside the bar for a simple, polished touch.
How to store Delicious Raspberry Coconut Magic Bars
Short-term (fridge): Place cooled bars in a single layer or with parchment between layers in an airtight container. Keep them in the fridge for up to 4–5 days. Cold storage keeps the texture firmer and the fruit fresher.
Long-term (freezer): Freeze bars on a baking sheet until solid, then wrap each square in plastic wrap and place in a freezer bag. Store for up to 2 months. Thaw in the fridge overnight before serving.
Reheating tips: To warm a bar, place it on a small plate and heat in the microwave for 10–15 seconds. Do not overheat, as the condensed milk can become very hot and the crust may dry. For a slightly crisp edge, reheat in a 325°F (160°C) oven for 6–8 minutes from cool, not frozen. Cover lightly with foil to avoid over-browning.
Tips to make Delicious Raspberry Coconut Magic Bars
- Use room-temperature butter: It mixes more evenly and helps the crust bind.
- Press the crust firmly: A compact base prevents crumbling when you cut the bars.
- Fold raspberries gently: Avoid smashing them to keep pockets of fruit.
- Watch bake time: Ovens vary, so check at 20 minutes. The center should be mostly set, not wet.
- Cool fully before cutting: Cutting while warm gives messy, squished squares.
- Toast the coconut lightly in a dry pan before mixing for a deeper flavor.
- If your raspberries are very ripe, blot them lightly on a paper towel to remove excess juice before adding.
Common mistakes to avoid: adding too much butter to the crust, mashing the berries, or cutting too soon.
Variation
- The Deluxe Version: Add a 1/2 cup chopped dark chocolate or chocolate chips on top of the condensed milk before adding raspberries. The chocolate will melt slightly and add depth.
- The Nutty Version: Sprinkle 1/3 cup chopped toasted almonds or macadamia nuts over the top before baking for crunch.
- The Citrus Twist: Add 1 teaspoon lemon zest to the milk layer and use raspberries with a bit of orange zest on top for a bright, citrus lift.
- The Spiced Version: Add 1/2 teaspoon ground ginger or cinnamon to the crust for warm spice notes.
- The Vegan Style: Use a thick coconut condensed milk and vegan butter; bake a bit longer at a slightly lower temp to avoid browning too fast.
FAQs
Q: Can I use frozen raspberries?
A: Yes, but thaw and drain them first to remove excess juice. Too much water can make the center soggy. Blot with a paper towel and fold in gently.
Q: Why is my center too wet after baking?
A: Either the bake time was too short, the oven runs cool, or berries released too much juice. Bake a few more minutes and check for a slight jiggle but no liquid pooling.
Q: Can I make these ahead for a party?
A: Yes. Make them a day ahead, cool, and store in the fridge. Bring to room temperature before serving for the best texture.
Q: How do I stop bars from sticking to the pan?
A: Grease the pan well and use parchment paper that overhangs two sides to lift the bars out cleanly. Let the bars cool fully before lifting.
Q: Can I double the recipe?
A: Yes. Use a 9×13 inch pan and bake for 30–35 minutes. Watch for color and center set, as bake time may vary.
Conclusion
This recipe gives you a simple, fast way to bake bright, chewy bars that pair fresh fruit with rich, creamy texture. For another home-style take and additional tips, see a close version at Raspberry Coconut Magic Bars Recipe – Mom On Timeout, and for more ideas that blend fruit and nuts in bars, check out Raspberry Coconut Bars – Framed Cooks.
Raspberry Coconut Magic Bars
Ingredients
Method
- Preheat the oven to 350°F (175°C). Grease an 8x8 inch baking pan and optionally line it with parchment.
- In a medium bowl, mix gluten-free flour, shredded coconut, melted butter, brown sugar, and salt until a sticky dough forms.
- Press the crust mixture into the bottom of the prepared pan.
- Pour sweetened condensed milk evenly over the crust, ensuring an even layer.
- Add vanilla extract to the milk layer and gently fold in the raspberries.
- Bake in the preheated oven for 25–30 minutes or until edges are golden and the center is set.
- Allow to cool completely on a wire rack before cutting into squares.