

Garlic Herb Compound Butter
Creating homemade garlic herb compound butter is a simple yet rewarding endeavor that will elevate your dishes to new heights. This versatile condiment pairs beautifully with steak, grilled vegetables, and even pasta. The best part? It only takes a handful of fresh ingredients and a few minutes of your time to prepare this delightful garlic herb butter. You can even add it atop a plate of creamy garlic butter salmon and shrimp for an extra flavor boost!
Why This Recipe Works
- Quick prep: You can whip this together in just 10 minutes.
- Versatile: Perfect for enhancing various dishes or as a bread spread.
- Make-ahead friendly: Prepare and refrigerate for up to a week or freeze for longer.
- Budget-friendly: Uses simple ingredients you might already have in your pantry.
- Flavor-packed: Fresh herbs and garlic amplify flavor without extra calories.
This garlic herb compound butter combines traditional butter with a blend of aromatic herbs and savory garlic, making it a delicious addition to your cooking repertoire. You may also find Cheesy Garlic Butter Chicken Bowties useful.
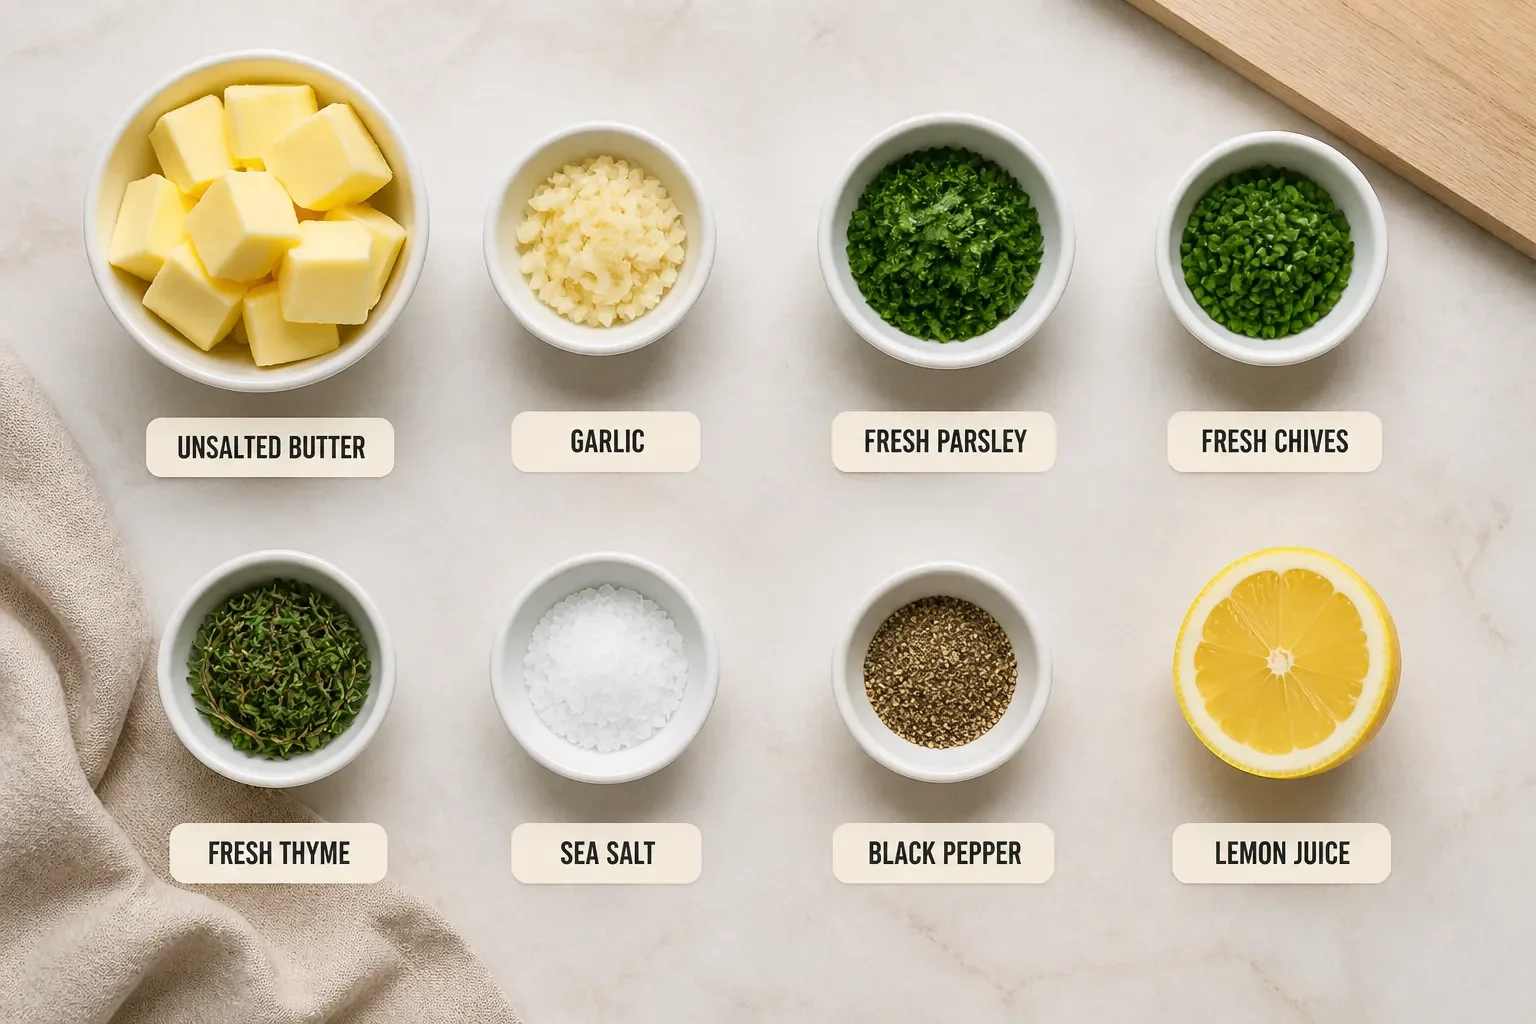
Ingredients
- 1 stick of butter (at room temperature)
- ⅓ cup finely grated parmesan cheese
- 2 tablespoons fresh chives (finely chopped)
- 1 tablespoon fresh tarragon (finely chopped)
- 1 tablespoon fresh thyme (finely chopped)
- 2 cloves of garlic (minced)
- ¼ teaspoon salt
- ½ teaspoon pepper
To ensure your garlic herb compound butter is of the highest quality, select fresh herbs and good-quality butter. For substitutions, consider using nutritional yeast instead of parmesan for a dairy-free option, or swap in olive oil for a lighter version.
Step-by-Step Directions
-
Prepare the Ingredients: In a medium bowl, add one stick of room-temperature butter. Ensure it’s soft to make mixing easier. Slicing the butter into smaller pieces can help it cream faster.
-
Combine Ingredients: Add the finely grated parmesan cheese, chopped chives, tarragon, thyme, minced garlic, salt, and pepper into the bowl with the butter. Mix everything together with a fork or spatula until the ingredients are fully combined and you achieve a cohesive texture.
-
Shape the Butter: Once mixed, transfer the compound butter onto a sheet of plastic wrap or parchment paper. Shape the mixture into a log, aiming for a diameter of about 1¼ inches.
-
Wrap and Chill: After forming the log, wrap it tightly, sealing the ends well. Refrigerate the butter until firm, which should take about an hour. This step is crucial to solidifying the butter for easier slicing.
-
Slice and Store: Once solid, remove the butter from the refrigerator. Slice it into ten equal pats using a sharp knife. Store the slices in an airtight container in the refrigerator for up to one week, or freeze them for up to 12 months.
Serving Suggestions
Garlic herb compound butter is wonderfully versatile. Try placing a pat on a perfectly grilled steak for a flavorful finish or enjoy it melted atop steamed vegetables. For a unique twist, add it to pasta dishes; it pairs especially well with creamy sauces. For presentation, use a small dish to serve your butter, garnished with a sprinkle of fresh herbs for a delightful look.
Storage and Reheating
Store your compound butter in an airtight container in the refrigerator for up to one week. If you choose to freeze it, it will hold its quality for up to 12 months. Thaw frozen pats in the refrigerator overnight before using. To preserve its texture, simply add a pat to a warm dish instead of reheating directly.
Pro Tips / Common Mistakes
- Flavor technique: Feel free to experiment with different herbs such as parsley or dill for variation in flavor.
- Texture trick: Make sure your butter is at room temperature to ensure even mixing. Cold butter will not blend smoothly.
- Common mistake: Avoid over-mixing, which can cause the butter to become too soft. Mix just until combined.
- Ingredient upgrade: Use organic or grass-fed butter for a richer flavor and higher quality.
- Time-saving technique: Pre-chop your herbs earlier in the week and store them in the fridge, so you can whip up this butter in no time.
Variations
Spicy Version
For a kick, add red pepper flakes or a dash of cayenne pepper to your herb butter. This spice will complement grilled meats beautifully, adding warmth to every bite.
Lighter and Healthier Version
Swap out half of the butter for a high-quality olive oil. This will give you a lighter texture while maintaining that delicious herb and garlic flavor.
Vegetarian or Vegan Version
Replace the butter with a plant-based option like coconut oil or a vegan butter spread. This adaptation ensures everyone can enjoy the rich taste without compromising dietary preferences.
FAQ
Q: Can I make this butter ahead of time?
A: Absolutely! You can make the garlic herb compound butter in advance and refrigerate it for up to a week or freeze it for longer storage.
Q: What if my texture is off?
A: If the butter is too soft, it may not hold its shape. Ensure it’s adequately chilled when forming into logs.
Q: What’s the best substitution for parmesan cheese?
A: Nutritional yeast is a great dairy-free substitute that still offers a cheesy flavor.
Q: How long does it keep in the fridge?
A: The compound butter will last up to one week in the refrigerator.
Q: Can I adjust the batch size?
A: Yes, you can easily double or halve the recipe based on your needs.
Q: Is this recipe beginner-friendly?
A: Yes! This recipe requires minimal cooking skills and can be made in just a few quick steps.
Conclusion
Homemade garlic herb compound butter is a delightful way to enhance your meals, bringing rich flavors and a touch of elegance to any dish. Whether you choose to use it with grilled meats or incorporate it into your next pasta creation, this butter is sure to become a staple in your kitchen. For some additional inspiration, check out this video on garlic herb compound butter and explore even more recipes at Pantry to Table.

Garlic Herb Compound Butter
Ingredients
Method
- In a medium bowl, add one stick of room-temperature butter. Ensure it’s soft to make mixing easier. Slicing the butter into smaller pieces can help it cream faster.
- Add the finely grated parmesan cheese, chopped chives, tarragon, thyme, minced garlic, salt, and pepper into the bowl with the butter. Mix everything together with a fork or spatula until the ingredients are fully combined and you achieve a cohesive texture.
- Once mixed, transfer the compound butter onto a sheet of plastic wrap or parchment paper. Shape the mixture into a log, aiming for a diameter of about 1¼ inches.
- After forming the log, wrap it tightly, sealing the ends well. Refrigerate the butter until firm, which should take about an hour.
- Once solid, remove the butter from the refrigerator. Slice it into ten equal pats using a sharp knife.
- Store the slices in an airtight container in the refrigerator for up to one week, or freeze them for up to 12 months.


