
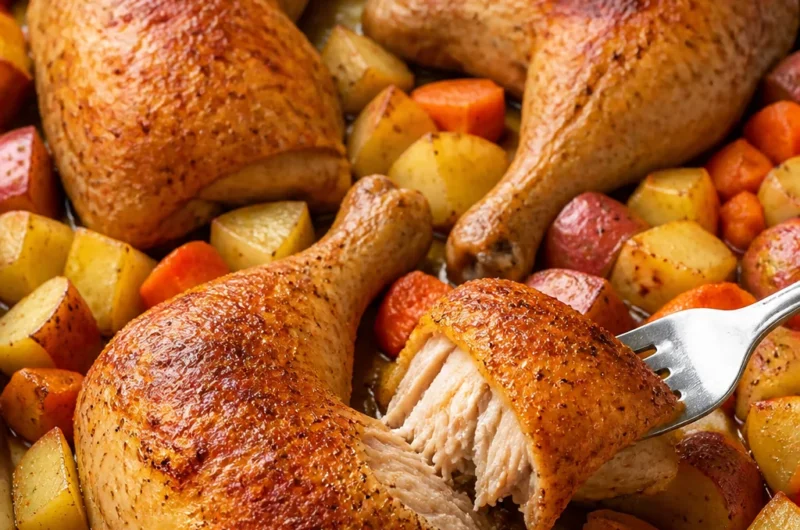
Crispy Baked Chicken Leg Quarters
When it comes to a satisfying and flavorful meal, nothing beats crispy baked chicken leg quarters. This dish is not just easy to prepare, but it also delivers a delightfully crispy skin along with tender, juicy meat. The combination of seasonings packs a punch, ensuring that each bite is packed with flavor. Utilizing these chicken leg quarters is a fantastic way to simplify dinner preparation, especially when paired with sides like roasted vegetables or a fresh salad. For a delightful experience, consider trying herb-roasted chicken style for added variety.
Why This Recipe Works
- Quick prep time with just a few simple ingredients
- Family-approved flavor that pleases everyone
- Perfectly crispy texture without frying
- Easy clean-up with a lined baking tray
- Ideal for meal prep or a weeknight dinner
This version of crispy baked chicken leg quarters excels because it combines straightforward techniques with bold flavors and is sure to become a favorite in your household. You may also find Baked Chicken Leg Quarters Weeknight Dinner useful.
You may also find Crispy Greek Style Chicken Leg Quarters With Potatoes useful.
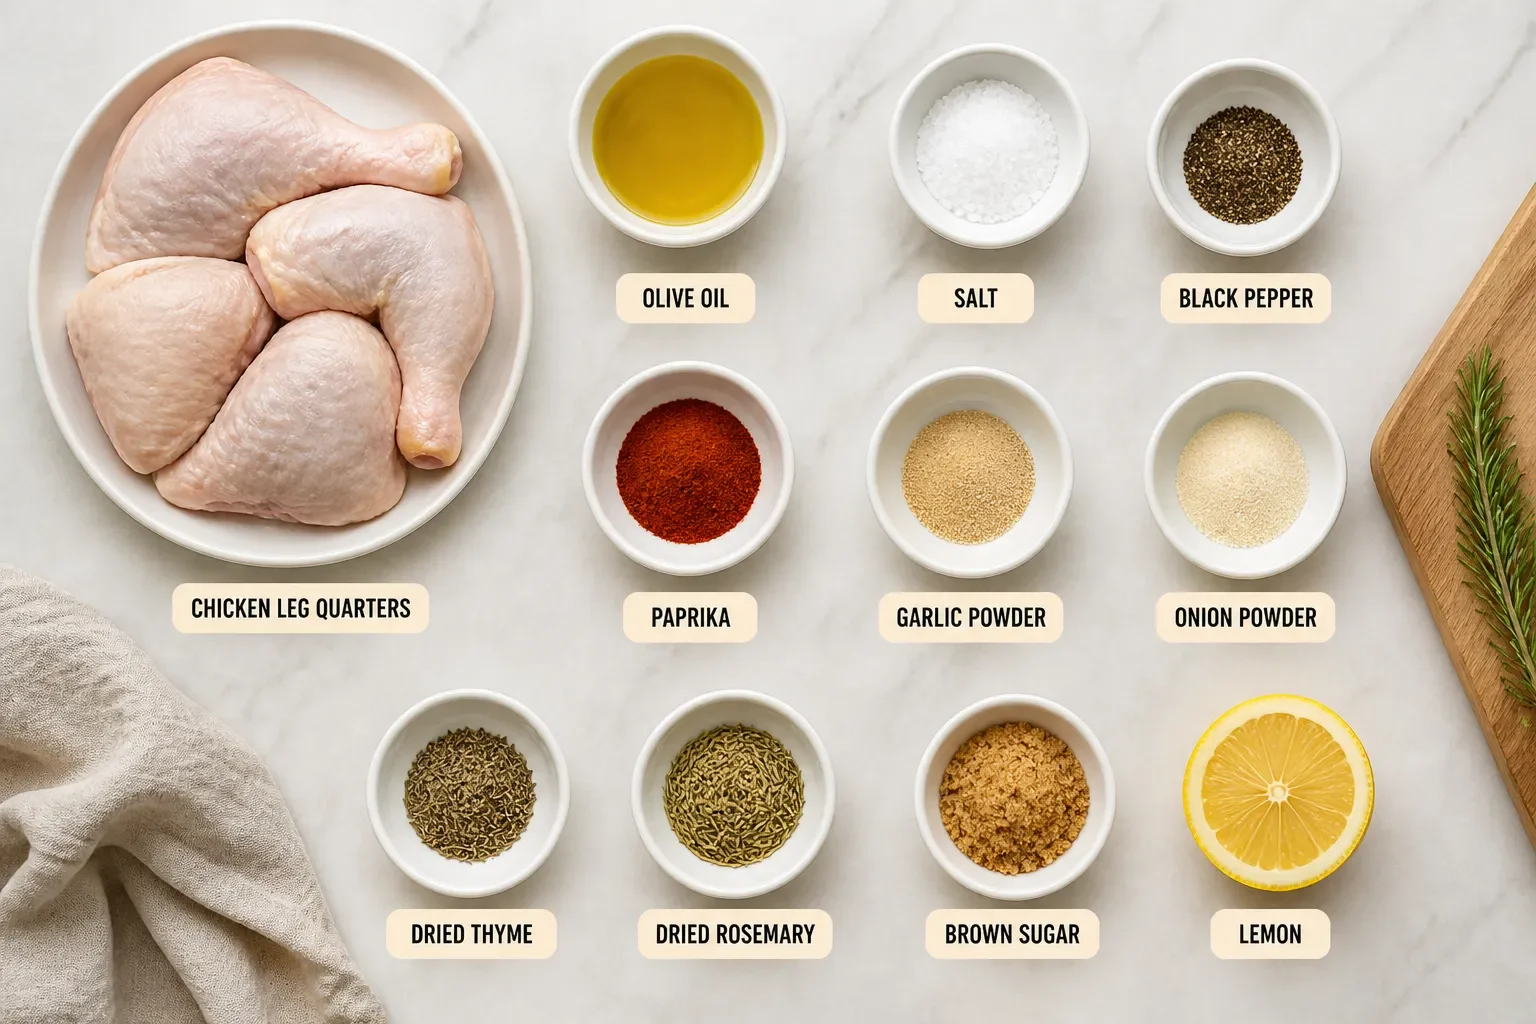
- 4 chicken leg quarters
- 2 tablespoons olive oil
- 1 teaspoon garlic powder
- 1 teaspoon onion powder
- 1 teaspoon paprika
- 1 teaspoon salt
- 1/2 teaspoon black pepper
When selecting chicken leg quarters, look for ones that are plump and have a good balance of skin and meat. Fresh chicken should have minimal bruising and a pleasant smell. For those with dietary restrictions, consider substitutions like using avocado oil instead of olive oil, or try seasoning blends that cater to sodium-free diets. You can also swap chicken leg quarters for chicken thighs for a similar delicious outcome.
Step-by-Step Directions
-
Preheat and Prepare: Start by preheating your oven to 425°F (220°C). This high temperature will help achieve that sought-after crispy skin. Ensuring the oven is hot enough is crucial, so give it time to heat fully.
-
Dry the Chicken: Pat the chicken leg quarters dry with paper towels. This step is essential for getting crispy skin, as excess moisture will prevent browning.
-
Make the Seasoning Mixture: In a bowl, mix together olive oil, garlic powder, onion powder, paprika, salt, and black pepper. This combination of spices will enhance the flavor profile of the chicken.
-
Season the Chicken: Rub the seasoning mixture all over the chicken leg quarters, ensuring they are evenly coated. Make sure to get into all the nooks and crannies for maximum flavor.
-
Prepare the Baking Tray: Place the chicken leg quarters on a baking tray lined with parchment paper. The parchment will prevent sticking and make clean-up easier.
-
Bake the Chicken: Bake in the preheated oven for 45-50 minutes, or until the chicken is cooked through and the skin is crispy. Keep an eye on the chicken during the last few minutes; the skin should be golden brown.
-
Rest Before Serving: Let it rest for a few minutes before serving. This allows the juices to redistribute, ensuring a moist and flavorful bite every time.
Serving Suggestions
When serving crispy baked chicken leg quarters, consider pairing them with a fresh green salad topped with a zesty vinaigrette. Another great side dish could be roasted potatoes, making for a comforting and complete meal. For an enticing presentation, arrange the chicken on a large plate with a sprinkle of fresh herbs for added color.
Storage and Reheating
Store any leftovers in an airtight container in the refrigerator for up to 3 days. If you’re planning to store for longer, freezing is a great option — they can be frozen for up to 3 months. To reheat, place them back in the oven at 350°F (175°C) until heated through, which helps maintain their crispy texture. As a meal-prep hack, consider making a double batch for easy lunches throughout the week.
Common Mistakes and Tips
-
Flavor Technique: Always season under the skin as well for deeper flavor penetration.
-
Texture Trick: For extra crispness, you can broil the chicken for the last few minutes of cooking.
-
Avoid Overcrowding: Ensure that the chicken pieces are spaced out on the tray; crowded pieces will steam instead of crisp up.
-
Ingredient Upgrade: Consider using smoked paprika for a delicious depth of flavor.
-
Time-saver Tip: If you’re short on time, you can pre-marinate the chicken with the seasoning overnight for quicker prep in the next meal.
Variations
Spicy Version
For a spicy twist, add cayenne pepper or your favorite hot sauce to the seasoning mix. This will infuse the chicken with a delightful heat that complements the crispy skin.
Lighter and Healthier Version
To lighten the dish, use chicken breast instead of leg quarters and reduce the olive oil. This variation will still deliver great flavor while cutting some calories.
Vegetarian or Vegan Version
For a plant-based option, try baking marinated cauliflower or portobello mushrooms with the same seasonings. These vegetables can take on the delicious flavors and crispy texture of the original dish.
FAQ
Q: Can I make these chicken leg quarters ahead of time?
A: Yes, you can prepare the chicken and season it up to a day in advance. Just store it in the fridge until you’re ready to bake.
Q: Why is my chicken skin not crispy?
A: The primary reason for soggy skin is excess moisture. Ensure your chicken is thoroughly dried before seasoning and baking.
Q: What’s the best substitution for olive oil?
A: Avocado oil works wonderfully in place of olive oil and has a similar smoking point.
Q: How long do leftovers keep in the refrigerator?
A: Leftovers can be stored in the fridge for about 3 days when kept in an airtight container.
Q: Can I adjust the batch size?
A: Absolutely! This recipe is easily scalable; just ensure your baking tray has enough space for all the chicken pieces.
Q: What beginner tips should I consider for making this dish?
A: Be sure to preheat your oven and dry the chicken properly for the best results. Following the steps closely will yield delicious, crispy chicken.
Conclusion
These crispy baked chicken leg quarters are truly a delightful meal fit for any occasion. With simple ingredients and straightforward preparation, you’re bound to impress your family or guests. If you’re looking for more variations, check out this guide for baked chicken leg quarters or explore the crispy techniques found on this blog post. Enjoy making this dish and let it become a staple in your weekly menu!
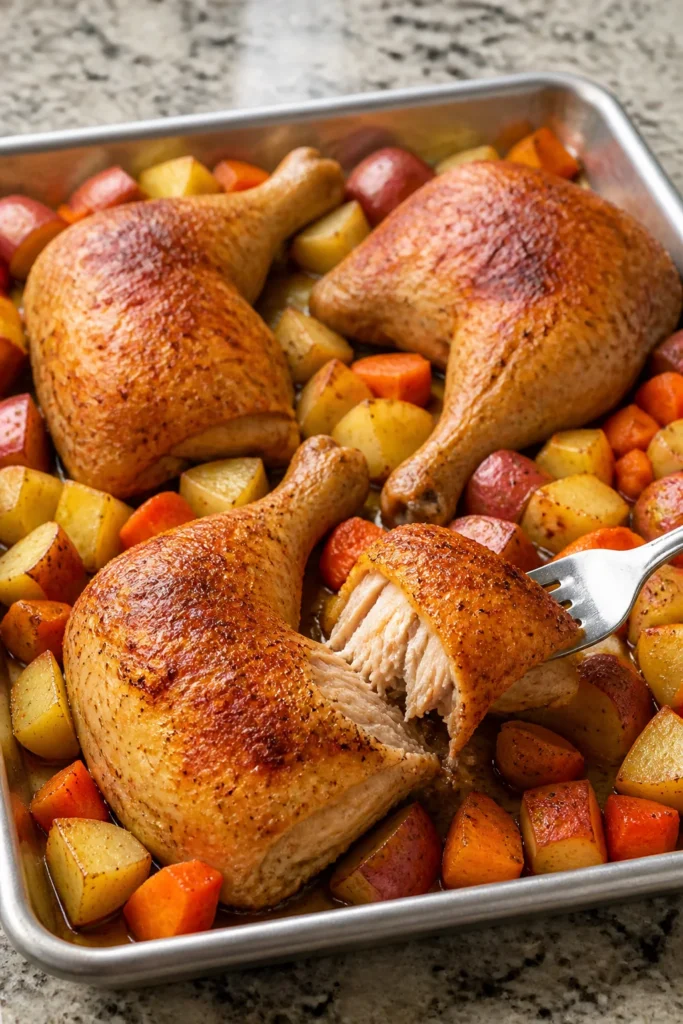
Crispy Baked Chicken Leg Quarters
Ingredients
Method
- Preheat your oven to 425°F (220°C).
- Pat the chicken leg quarters dry with paper towels to ensure crispy skin.
- In a bowl, mix together olive oil, garlic powder, onion powder, paprika, salt, and black pepper.
- Rub the seasoning mixture all over the chicken leg quarters.
- Place the chicken leg quarters on a baking tray lined with parchment paper.
- Bake in the preheated oven for 45-50 minutes, or until the chicken is cooked through and the skin is crispy.
- Let the chicken rest for a few minutes before serving to allow juices to redistribute.