Traditional Canelé (French Caramelized Custard Cakes)
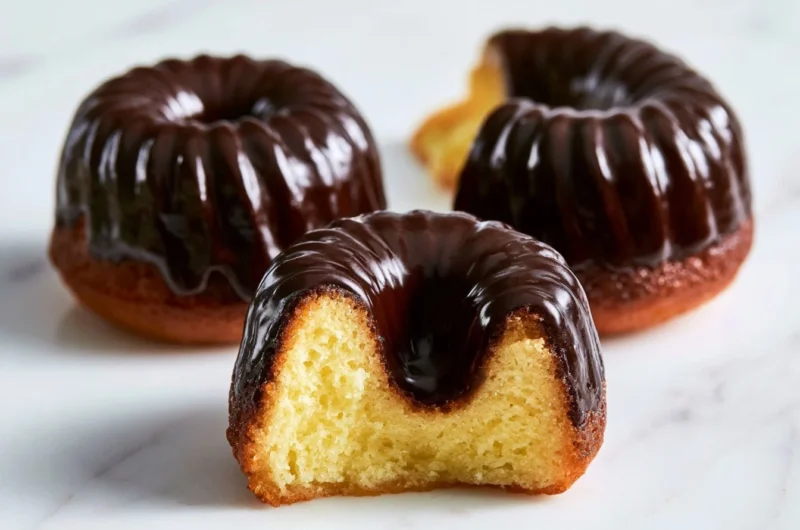
The first time I tasted a canelé, I was transported back to a small patisserie in Bordeaux, where the sun filtered through the dusty window to illuminate a tray of these golden-brown delights. The air was filled with the sweet, caramel aroma of sugar melting into a perfect crust, while the rich scent of vanilla hinted at the custard waiting just beneath. My heart raced as I picked one up, feeling its crust crackle under my fingers—a promise of the smooth custard it encased. You may also find Savory Power Bowl With Steak Rice Caramelized Plantains useful.
As the vibrant flavors unfolded on my tongue, I couldn’t help but marvel at the skill it takes to craft such a masterpiece. These traditional canelés are not just desserts; they are a testament to French baking and a delightful challenge for any home cook seeking to recreate that same magic at home. You may also find Steak With Caramelized Onions Rice Beans Fries useful.
Why you’ll love this Traditional Canelé
- Each bite offers a delightful contrast between the caramelized exterior and the soft, custardy heart inside.
- The flavor profile is elevated by the combination of rum and vanilla, making them truly unforgettable.
- They can be made in advance and stored, adding ease to your entertaining plans.
- Just a few simple ingredients create a complex and rich flavor that will impress anyone who tries them.
Ingredients you’ll need
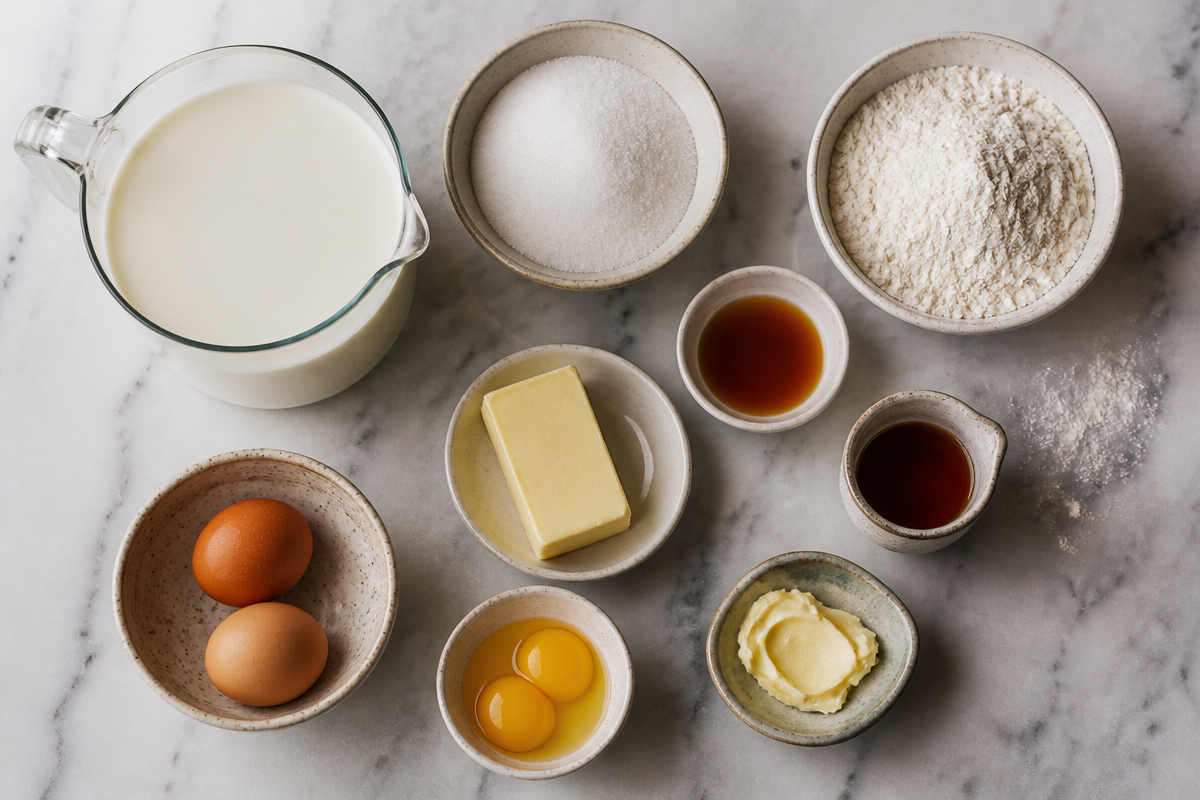
- 2 cups whole milk (essential for a rich custard)
- 1 cup granulated sugar (for caramelizing and sweetening)
- 4 large egg yolks (adds richness and depth)
- 1 large whole egg (to bind the mixture)
- 1 tablespoon vanilla extract (for that signature flavor)
- 1 tablespoon dark rum (enhances the aroma and complexity)
- 1/2 cup all-purpose flour (the structure of the cake)
- 1/2 cup unsalted butter (for greasing the molds and adding richness)
How to make Traditional Canelé (step-by-step)
- Start by combining the milk and butter in a saucepan over medium heat. Stir until the butter is melted, then remove from heat and let it cool slightly.
- In a large bowl, whisk together the sugar and flour. Once mixed, add the egg yolks and whole egg, beating well until smooth.
- Gradually add the warm milk mixture to the egg mixture, stirring constantly to avoid cooking the eggs.
- Incorporate the vanilla extract and dark rum into the batter. Ensure it is well combined, then let it sit for at least a few hours, preferably overnight, in the refrigerator.
- Preheat your oven to 450°F (232°C). Generously grease your canelé molds with melted butter to ensure easy release after baking.
- Fill the molds about three-quarters full with the batter. Don’t overfill; the canelés will rise and need space to expand.
- Bake in the preheated oven for 15 minutes, then reduce the temperature to 350°F (175°C) and continue baking for an additional 45 minutes, or until they are deeply caramelized.
- Allow the canelés to cool in the molds for about 10 minutes before gently removing them. Let them cool completely on a wire rack.
Tips for the best results
- Using copper molds can significantly enhance the caramelization process, giving those beautiful, crispy crusts.
- Be patient and let the batter rest in the fridge overnight; this allows the flavors to meld beautifully.
- A good quality vanilla extract will greatly enhance the overall flavor profile of your canelés.
Common mistakes to avoid
- If your canelés are soggy, it might be due to insufficient baking time or temperature, so keep an eye on them as they bake.
- Be sure to properly grease the molds; this step is crucial to achieving that perfect release after baking.
- Overmixing the batter can lead to dense cakes instead of the light, airy texture you want.
Variations
- For a different twist, try infusing your milk with citrus zest or even coffee before combining with the other ingredients.
- You can experiment with different types of rum or substitute it entirely with brandy for a unique flavor.
- For a more chocolatey take, add melted chocolate to the batter.
Storage and reheating
Canelés are best eaten fresh, but you can store them at room temperature for up to 3 days. For longer storage, place them in an airtight container and refrigerate for up to a week. Reheat them in an oven at 350°F (175°C) for about 5 minutes to regain that delightful crispiness.
Frequently asked questions
Can I use a different type of flour?
You can use cake flour for an even lighter texture, but all-purpose flour is recommended for the best results.
What can I do if my canelés don’t come out nicely shaped?
Ensure the batter is well-mixed, and the molds are greased properly. If they still don’t turn out as expected, don’t be discouraged; practice makes perfect!
Can I make these ahead of time?
Absolutely! The batter can sit in the fridge for up to 48 hours before baking, and prepared canelés can be stored in an airtight container to maintain their texture.
Final thoughts
There’s something undeniably enchanting about a freshly baked traditional canelé, evoking memories of that vibrant Bordeaux patisserie where my love for this dessert began. As each canelé emerges from the oven, golden and fragrant, it tells the story of tradition and patience that is worth every moment spent in the kitchen.
Conclusion
Baking canelés is a rewarding endeavor that brings the authentic taste of France right to your home. For an excellent nutty dessert that pairs beautifully with a good cup of coffee or an afternoon tea, consider trying these Canelés de Bordeaux Recipe – Allrecipes or check out this guide on creating a Perfect Canele – Taste of Artisan. Your journey into the world of French pastries starts here; happy baking!