
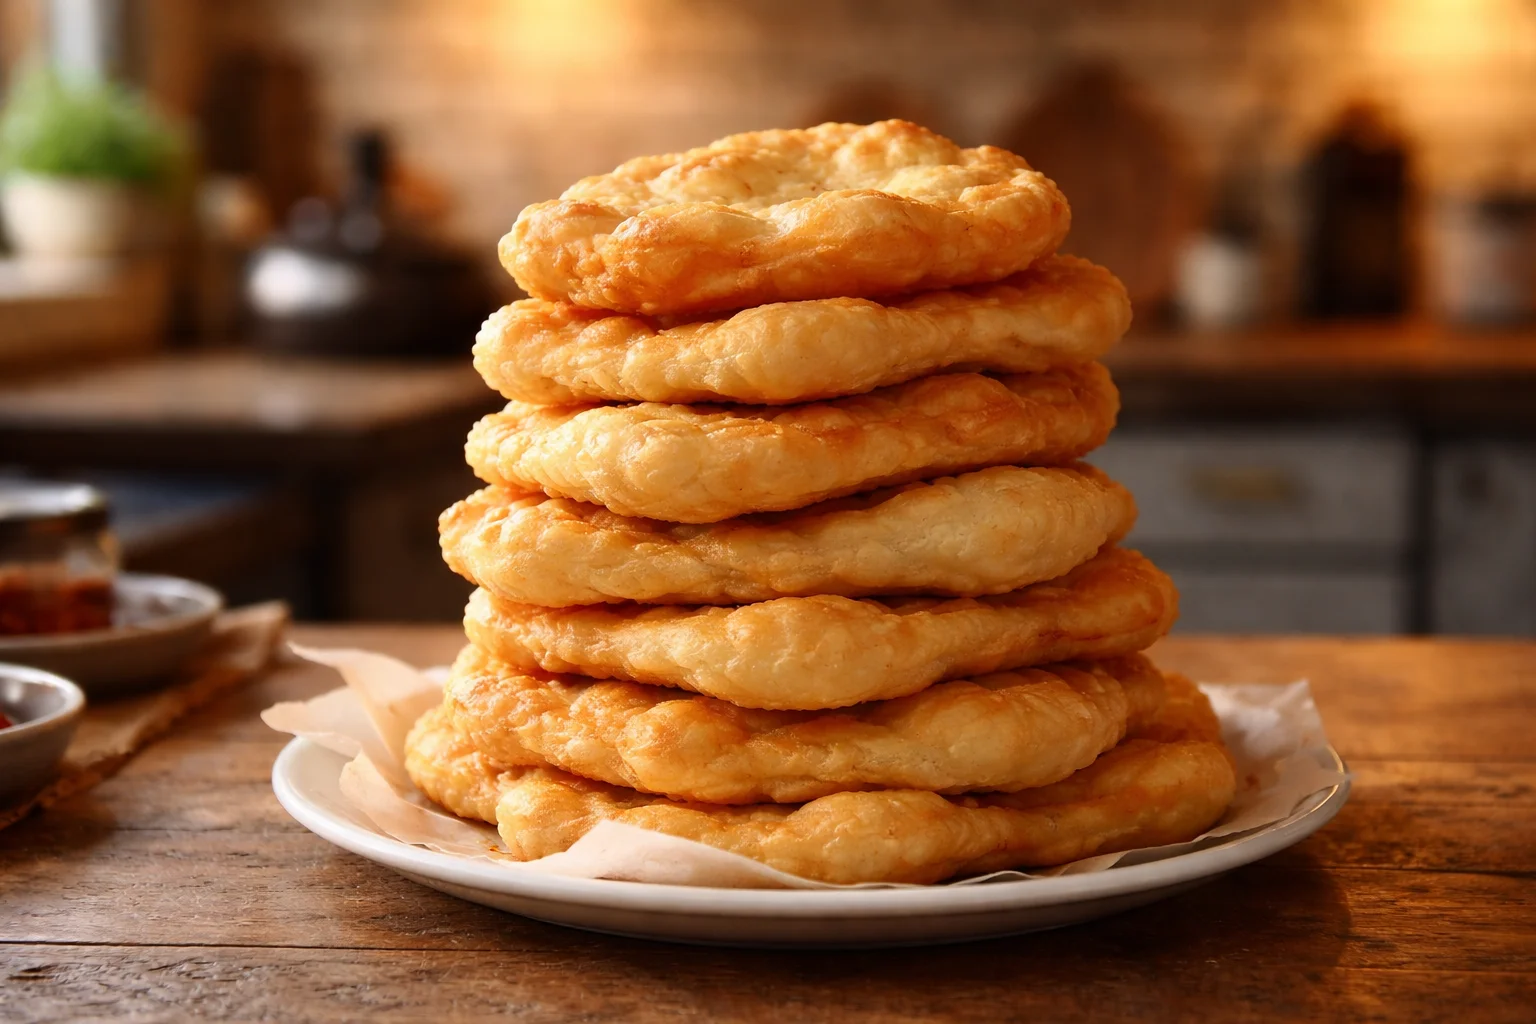
fry bread is one of those comfort foods that fixes a rough day fast. You know the feeling when you want something warm and filling, but you do not want a sink full of dishes or a long ingredient list. This is the recipe I make when friends drop by last minute, or when I just want a cozy snack that feels special. It is simple, it is forgiving, and the payoff is huge because you get that crisp outside with a soft, chewy middle. If you have ever been nervous about frying at home, I will walk you through it in plain, normal-people language.
Key Benefits of Understanding the Topic
Before we jump into mixing and frying, it helps to know why this recipe works and what you are aiming for. Once you understand the basics, you can make fry bread confidently, even if you are not the type who measures with perfection.
Here is what I love about it, and why it is worth learning:
It is quick. From bowl to plate, you can be eating in about 20 to 30 minutes.
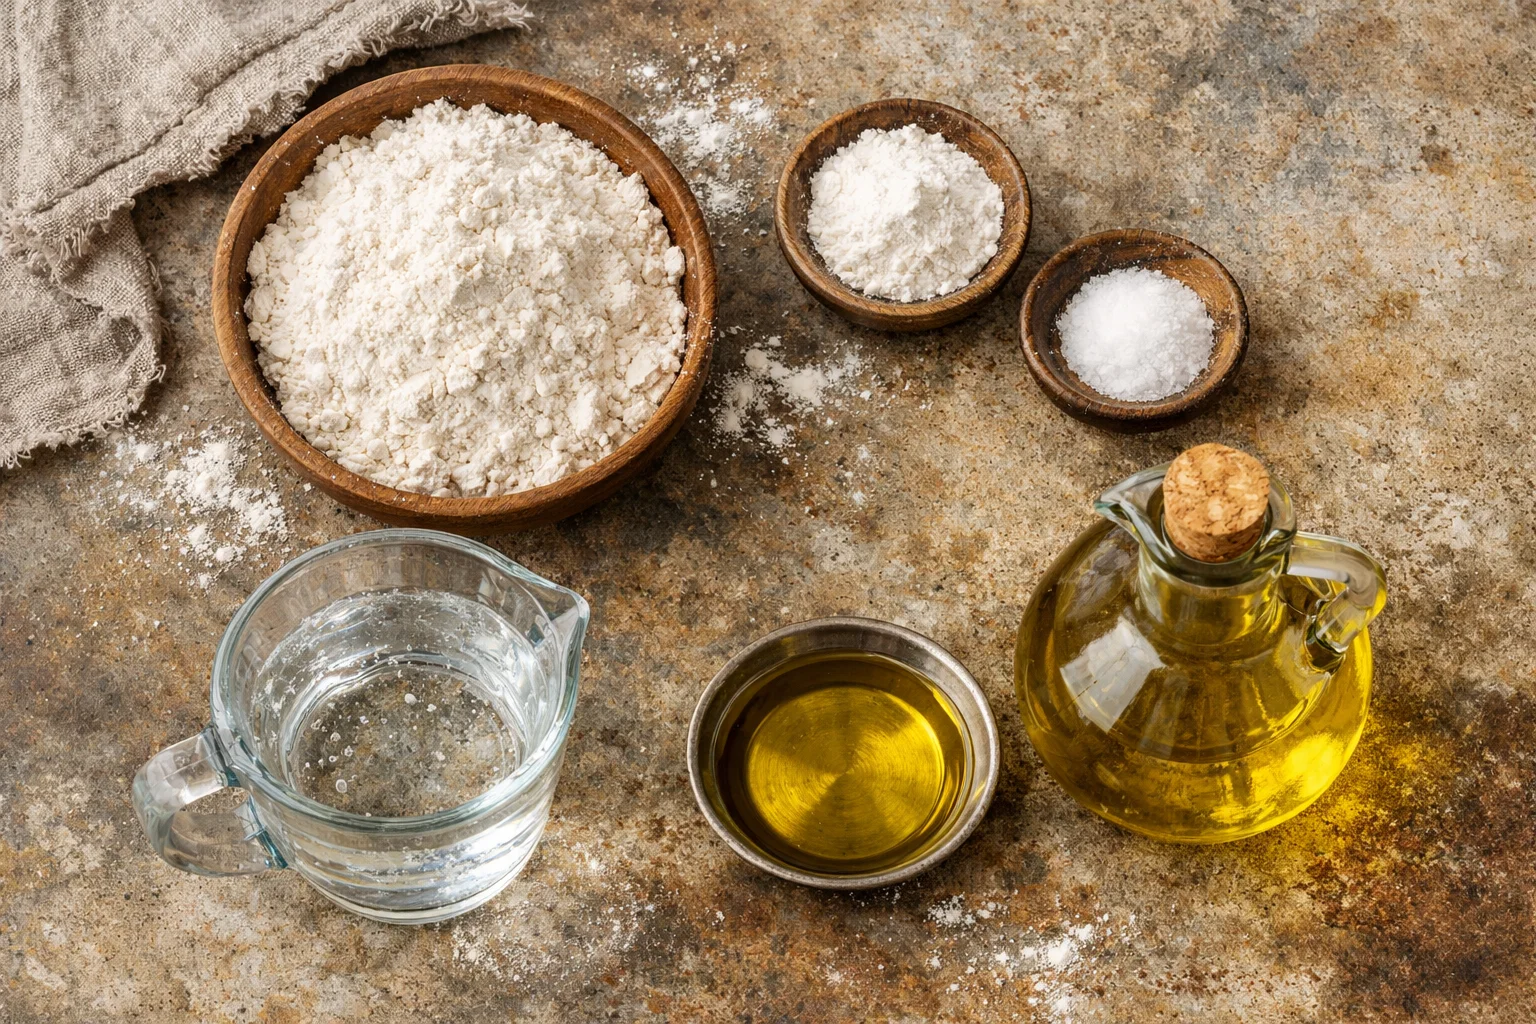
It uses pantry staples. Flour, baking powder, salt, and oil. That is basically it.
It is flexible. You can go sweet with honey and powdered sugar, or savory with taco toppings.
It teaches a useful skill. Once you get comfortable with heat and timing, you can apply that to other fried doughs too.
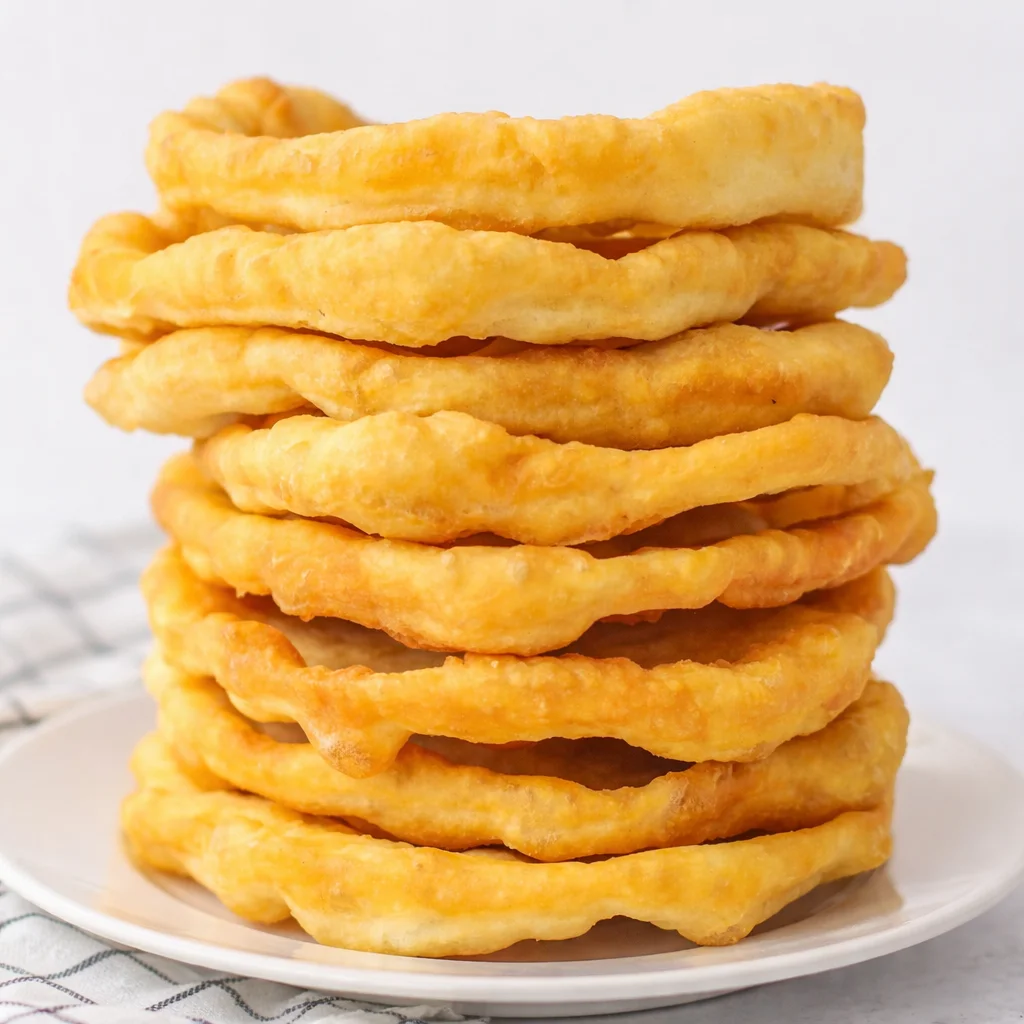
And honestly, it is just fun. There is something satisfying about watching the dough puff up in the oil like it is showing off.
If you are in a bread mood lately, you might also like this cozy bake I make on busy weeks, cherry tomato cheese bake with bread. It is the opposite vibe from frying, but it scratches the same comfort food itch.
Common Misconceptions Explained
I have heard a lot of strong opinions about fry bread, and some of them make people avoid it for no good reason. Let us clear up the most common misunderstandings so you can cook with less stress.
Misconception 1: The oil has to be scary hot
Nope. You want the oil hot enough that the dough sizzles right away, but not so hot that it burns in seconds. Medium to medium-high is usually the sweet spot. If you have a thermometer, aim for about 350 to 365 F. If you do not, just test with a tiny pinch of dough. If it bubbles steadily and floats up, you are good.
Misconception 2: You must have yeast to make it puff
Not for this easy version. Baking powder gives it lift, and the steam from the dough hitting hot oil helps it puff too. Yeast versions exist and they are great, but you do not need them to get a delicious result today.
Misconception 3: The dough needs a long rest
A short rest helps the flour hydrate and makes the dough easier to shape, but you do not need an hour. Even 10 minutes can make a difference.
Misconception 4: If it is not perfectly round, it is wrong
This is homemade. A little rustic is part of the charm. Mine come out looking like lopsided clouds sometimes, and nobody complains once they start eating.
By the way, if you are also a fan of baking projects that feel comforting but still easy, I have made delicious cheddar herb soda bread more times than I can count. It is a great no-yeast buddy to keep in your rotation.
Step-by-Step Guide for Effective Implementation
This is my go-to fry bread recipe, written the way I would text it to a friend. I will keep it simple, but I will still give you the little details that help it turn out right.
What you will need
- 2 cups all-purpose flour
- 1 tablespoon baking powder
- 1 teaspoon salt
- 3/4 cup warm water (add a splash more if needed)
- Oil for frying (vegetable, canola, or another neutral oil)
Optional but nice: a little extra flour for your hands, paper towels for draining, and a slotted spoon or tongs.
Make the dough
In a medium bowl, mix flour, baking powder, and salt. Pour in the warm water and stir until it starts to come together. Then use your hands to bring it into a soft dough. It should feel tender and slightly tacky, not dry and crumbly. If it looks too dry, add water a tablespoon at a time. If it is super sticky, dust in a little flour.
Let the dough rest for about 10 to 15 minutes. I usually use this time to set up my frying station and wipe the counter so I feel like I have my life together.
Heat the oil
Pour oil into a heavy pan, about 1 to 1 and a half inches deep. Heat it over medium to medium-high. If you have a thermometer, shoot for 350 to 365 F. If you do not, use the small dough test I mentioned earlier.
Shape the bread
Divide the dough into 6 to 8 pieces, depending on how big you want them. Lightly flour your hands. Pat each piece into a circle that is about 1/4 inch thick.
Here is the important part: poke a small hole in the center with your finger. This helps it fry more evenly and keeps it from turning into a giant balloon that is raw inside.
Fry and flip
Carefully lay one piece of dough into the hot oil. It should sizzle right away. Fry about 45 seconds to 1 minute on the first side, then flip. Fry the second side another 45 seconds to 1 minute, until both sides are golden.
Transfer to a paper towel lined plate. Repeat with the rest, and keep an eye on the oil temperature as you go. If the oil gets too hot, turn the heat down a bit.
Now eat it while it is warm. I mean it. Warm fry bread is the whole point.
And since we are talking comfort carbs, if you ever want a fun dinner bread that feels like a party trick, try chicken alfredo monkey bread. It is messy in the best way.
Tips and Tricks from Experts
I am not claiming to be a culinary wizard, but I have made enough batches to learn what matters. These tips are the stuff that saves a batch when things go a little sideways.
Use warm water, not hot. Warm water helps the dough come together smoothly. Hot water can make it weirdly gummy.
Do not overwork the dough. Mix until combined, then stop. Over-kneading can make it tough.
Watch thickness. Too thick and it stays doughy inside. Too thin and it gets crunchy like a chip. Aim for about 1/4 inch.
Fry one test piece first. It is a low-stress way to check oil heat and seasoning. If it needs more salt, you can adjust the next ones by sprinkling a pinch on top right after frying.
Drain right. A quick drain on paper towels keeps it crisp. If you stack them while they are steaming hot, they can soften.
Serving ideas that never fail at my house:
Sweet: honey, cinnamon sugar, powdered sugar, jam
Savory: taco meat, beans, cheese, lettuce, salsa, sour cream
Breakfast: scrambled eggs, crispy bacon, a little hot sauce
Real-Life Examples and Case Studies
I have made this recipe in a bunch of real life situations, not the perfect studio-kitchen kind. Here are a few scenarios and what I learned from them.
Case 1: Feeding a small crowd fast
I once had family show up early, and I had nothing ready. I made a double batch, set out honey and taco toppings, and everyone built their own plates. The key was frying in small batches so the oil stayed steady. When I tried rushing and overcrowded the pan, the bread turned a little greasy. Lesson learned.
Case 2: My oil was not hot enough
The first bread I dropped in just sat there, looking sad, barely bubbling. It soaked up oil and tasted heavy. I waited two more minutes, retested with a tiny dough piece, then continued. The second round was light and golden. Patience fixes a lot.
“I tried this exactly as written and it was my first time frying anything. It puffed up, tasted amazing, and my kids asked for it again the next day.”
Case 3: Turning leftovers into something great
If you have leftovers, reheat them in a dry skillet for a minute per side. It brings back some crispness. Microwave works in a pinch, but it makes the bread softer.
Common Questions
Can I make the dough ahead of time?
Yes. You can mix it, cover it, and keep it at room temp for a couple of hours. For longer, refrigerate it and let it sit out for 20 minutes before shaping.
Why is my fry bread greasy?
Usually the oil is not hot enough, or the pan is overcrowded which drops the temperature. Heat it a bit more and fry one at a time until you get the rhythm.
How do I know it is cooked inside?
It should be golden on both sides and feel lighter when you lift it. If you are unsure, tear one open. The inside should look cooked and chewy, not wet.
Can I use milk instead of water?
You can. It will taste a little richer and brown slightly faster, so keep an eye on the color.
What oil is best for frying?
A neutral oil like canola or vegetable oil is easiest. Save strongly flavored oils for other recipes.
A warm, simple way to keep the tradition going
If you have been craving something cozy, I hope you give this fry bread a try this week. Once you get the oil temperature figured out, the rest is honestly relaxing, and you can dress it up sweet or savory depending on your mood. If you want to compare methods, take a look at Navajo Fry Bread Recipe – Allrecipes and Grandma’s Fry Bread Recipe – Lil’ Luna, because it is fun to see the little differences. Make a batch, share it with someone you like, and do not stress if the shapes are imperfect. The best part is that first warm bite, and you are totally capable of making it happen.
Fry Bread
Ingredients
Method
- In a medium bowl, mix flour, baking powder, and salt.
- Pour in the warm water and stir until it starts to come together.
- Use your hands to bring it into a soft dough. It should feel tender and slightly tacky.
- Let the dough rest for about 10 to 15 minutes.
- Pour oil into a heavy pan, about 1 to 1 and a half inches deep.
- Heat it over medium to medium-high. Aim for 350 to 365 F.
- Divide the dough into 6 to 8 pieces.
- Lightly flour your hands and pat each piece into a circle, about 1/4 inch thick.
- Poke a small hole in the center of each piece.
- Lay one piece of dough into the hot oil and fry for about 45 seconds to 1 minute.
- Flip and fry the second side for another 45 seconds to 1 minute, until golden.
- Transfer to a paper towel lined plate and repeat with remaining dough.
- Serve warm.