Grandma’s Homemade Fried Chicken
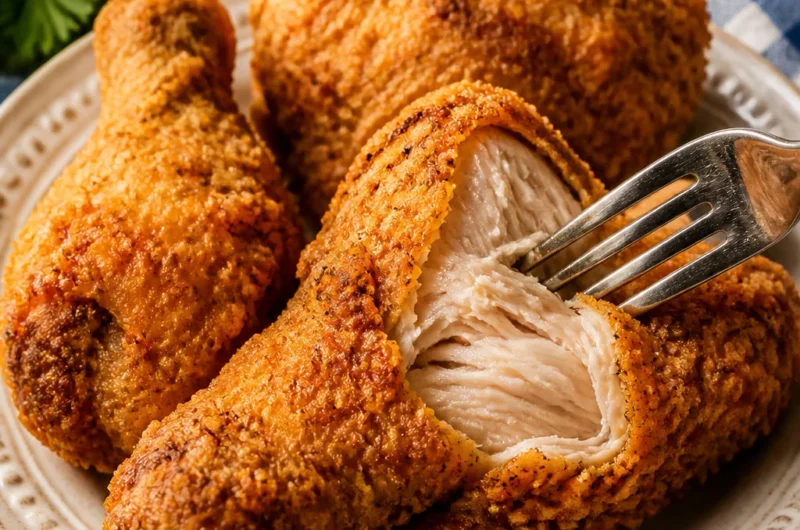
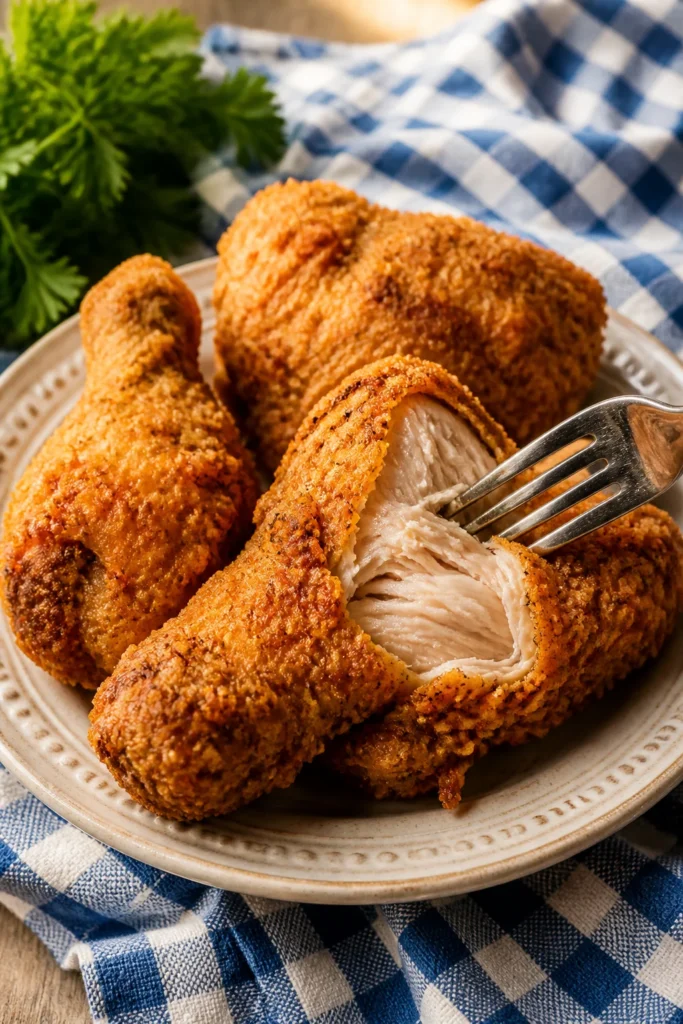
Grandma’s Homemade Fried Chicken is the ultimate comfort food, embodying the warm and inviting flavors of family kitchens. This recipe offers crispy skin, moist chicken, and a touch of nostalgia that transports you back to simpler times. With just a handful of pantry-staple ingredients and a straightforward frying method, this dish is sure to become a favorite in your home. Whether paired with your favorite sides or enjoyed on its own, this fried chicken is a culinary classic that never disappoints. You may also find Buttermilk Fried Chicken useful.
Why This Recipe Works
- Quick prep time makes it ideal for busy evenings
- Budget-friendly, using simple ingredients
- Family-approved, perfect for gatherings
- Great texture with a crispy coating and juicy meat
This version of fried chicken works well, thanks to the buttermilk marinade that tenderizes the chicken, resulting in a flavorful and crispy dish. You may also find Crispy Dill Chicken Sandwich With Homemade Aioli useful.
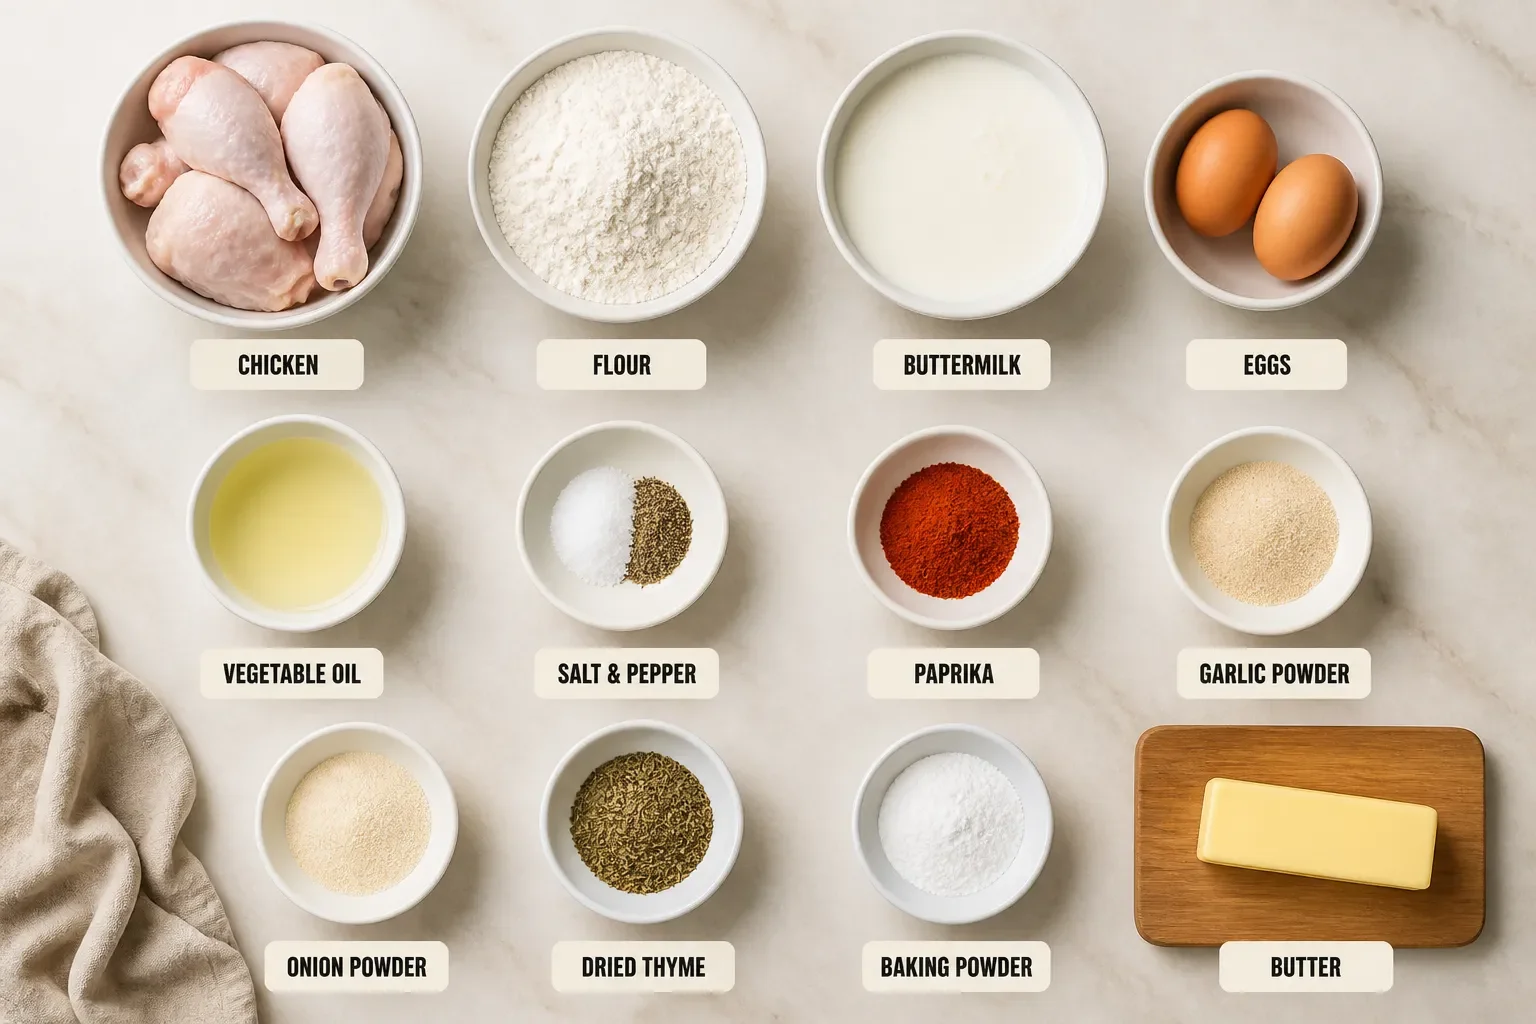
You may also find Crispy Fried Chicken Box Fries Coleslaw useful.
- 4 chicken pieces
- 1 cup all-purpose flour
- 1 tablespoon cornstarch
- 1 teaspoon baking powder
- 1 teaspoon salt
- 1 teaspoon pepper
- 1 cup buttermilk
- Oil for frying
When choosing chicken, opt for good-quality pieces to ensure flavor and moisture. For dietary needs, you can substitute the buttermilk with plant-based milk mixed with a tablespoon of vinegar for a dairy-free option, or use gluten-free flour if needed.
Step-by-Step Instructions
-
Prepare the Coating: In a large bowl, combine the all-purpose flour, cornstarch, baking powder, salt, and pepper. Mix well until all dry ingredients are evenly distributed. Be sure to avoid lumps, as they can affect the texture.
-
Coat the Chicken: Dip each chicken piece into the buttermilk, allowing any excess to drip off. Then, coat it thoroughly in the flour mixture. This double-dip process is essential for creating that crispy exterior.
-
Heat the Oil: In a deep pan, heat an ample amount of oil over medium heat. You’ll know it’s ready when small bubbles form around a wooden spoon dipped in the oil. This step requires patience—too hot and the chicken will burn; too cold and it won’t crisp up.
-
Fry the Chicken: Carefully place the coated chicken pieces into the frying oil, ensuring not to crowd the pan. Fry for about 15-20 minutes per side, or until golden brown and the internal temperature reaches 165°F. Listen for that satisfying sizzle, as it indicates that the chicken is cooking perfectly.
-
Drain and Serve: Once the chicken is crispy and cooked through, remove it from the oil and let it drain on paper towels to absorb excess oil. Serve hot, and relish in the delicious aroma that fills your kitchen.
Serving Suggestions
Consider serving your fried chicken with classic sides such as creamy coleslaw, crispy fries, or a refreshing salad. A beautiful garnish of fresh herbs adds a pop of color. This dish is perfect for family dinners or outdoor gatherings on warm days.
Storage and Reheating
Store any leftover fried chicken in an airtight container in the refrigerator for up to 3 days. For longer storage, you can freeze it for about 2 months. When reheating, place it in a preheated oven to maintain its crispy texture rather than using the microwave, which could make it soggy.
Common Mistakes and Tips
-
Flavor Technique: For added flavor, marinate the chicken in buttermilk for a few hours or overnight, which enhances tenderness and taste.
-
Texture Trick: Ensure that your oil is at the correct temperature; too cool will result in greasy chicken, while too hot will burn the coating.
-
Avoiding Mistakes: One common mistake is overcrowding the pan. Cook in batches to ensure even frying and allow space for the chicken to crisp up.
-
Ingredient Upgrade: For a slightly healthier option, consider using whole wheat flour in the coating to add fiber.
-
Time-saving Technique: To save time, prep the coating mixture in advance. Just store it in an airtight container until you’re ready to fry.
Variations
Spicy Version
You can create a spicy variation by adding cayenne pepper or smoked paprika to the flour mixture. This will add a delightful kick that complements the dish beautifully.
Lighter and Healthier Version
For a lighter version, you can bake the chicken instead of frying it. Simply coat the chicken as usual, place it on a baking tray, and bake at 400°F for about 30-40 minutes, turning halfway through.
Vegetarian or Vegan Version
To make a vegetarian alternative, substitute the chicken with cauliflower pieces. For a vegan option, use plant-based buttermilk and fry the coated cauliflower until golden brown.
FAQ
Q: Can I prepare this chicken ahead of time?
A: Yes, you can marinate the chicken in buttermilk and keep it in the refrigerator until you’re ready to fry. It keeps well for up to a day.
Q: What’s the best way to fix soggy chicken?
A: If your chicken ends up soggy, try frying it at a higher temperature for a few minutes to re-crisp the coating.
Q: How long does it keep in the fridge?
A: Properly stored, it can last in the refrigerator for up to 3 days, or it can be frozen for 2 months.
Q: How can I adjust the batch size?
A: Simply scale the ingredients up or down based on how many pieces of chicken you want to fry.
Q: Do I need to use buttermilk?
A: While buttermilk adds flavor and tenderness, you can substitute it with regular milk mixed with lemon juice or vinegar if needed.
Q: Why is my chicken not crispy?
A: If your chicken isn’t crispy, the oil may not be hot enough, or the coating might not have been applied thoroughly.
Conclusion
Enjoying Grandma’s Fried Chicken is not just about the food; it’s about the warmth it brings to the table. If you want to explore more delicious recipes that celebrate fried chicken, check out Grandma’s Fried Chicken Recipe – Tornadough Alli for another take or read about an anniversary served with fried chicken on Homesick Texan. Make it a family tradition today!
Grandma’s Homemade Fried Chicken
Ingredients
Method
- In a large bowl, combine all-purpose flour, cornstarch, baking powder, salt, and pepper. Mix well to avoid lumps.
- Dip each chicken piece in buttermilk, letting excess drip off, then coat with the flour mixture.
- Heat oil in a deep pan over medium heat until small bubbles form around a wooden spoon dipped in the oil.
- Carefully place the coated chicken in the oil, making sure not to crowd the pan. Fry for 15-20 minutes per side or until golden brown and the internal temperature reaches 165°F.
- Remove the chicken from the oil and place it on paper towels to drain excess oil. Serve hot.