Pain d’Épices: A Slice of Tradition
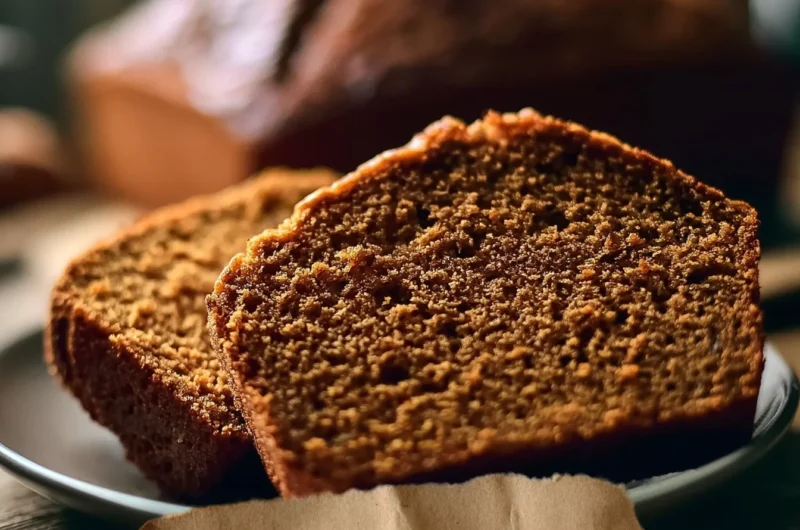
The warm aroma of spices wafts through the air as I slice into a loaf of pain d’épices, the sweet scent of honey mingling with cinnamon creating a cozy atmosphere. It reminds me of my grandmother’s kitchen during the chilly autumn evenings, where she skillfully crafted this spiced bread, wrapping it in a simple linen cloth as she passed it around, sharing the warmth and comfort it brought. The dense, moist texture of each slice, adorned with bits of candied orange zest, filled our hearts with a sense of tradition and kinship, and it’s this essence I aim to share with you in this article. You may also find Crispy Pepper Steak Box Of Fries useful.
Pain d’Épices is more than just a recipe; it’s a heartfelt journey through time, revealing both culinary delights and familial bonds. In the following sections, we will explore the love that goes into this traditional treat, provide a step-by-step guide on how to make it, and share tips to ensure your own loaf carries the same comforting nostalgia. You may also find Decadent Creamy Biscoff Mousse Whipped Topping useful.
Why you’ll love this Pain d’Épices
- Infused with warm spices, this bread has a delightful sweetness that’s perfect for a cozy breakfast or as an afternoon snack.
- The recipe is incredibly versatile, perfect for adapting based on seasonal spices or preferences.
- You can easily make this bread ahead of time; it tastes even better the next day after the flavors have melded together.
- Pain d’Épices can be served with butter, cheese, or enjoyed plain, making it suitable for any occasion.
- Its dense texture and rich taste make it an excellent companion for your favorite hot beverage.
Ingredients you’ll need
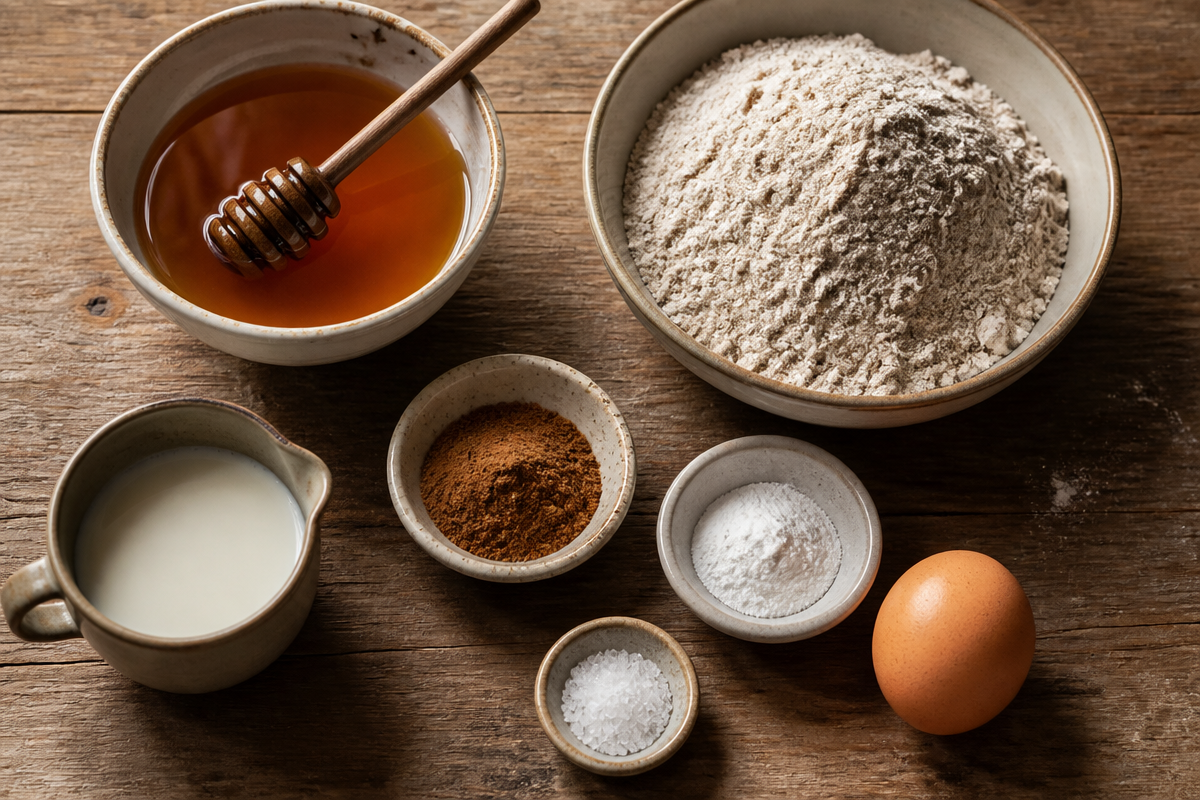
- 2 cups all-purpose flour (provides the base structure).
- 1/2 cup honey (adds natural sweetness and moisture).
- 1/2 cup brown sugar (enhances the depth of flavor).
- 1 teaspoon ground cinnamon (brings warmth and aroma).
- 1/2 teaspoon ground ginger (adds a touch of spicy warmth).
- 1 teaspoon baking soda (helps the bread rise).
- 1/2 teaspoon salt (enhances overall flavor).
- 1 cup milk (keeps the bread moist; can substitute with non-dairy milk).
- 1/2 cup candied orange peel (for a burst of citrus and texture).
How to make Pain d’Épices (step-by-step)
-
Preheat the oven: Start by preheating your oven to 350°F (175°C). Make sure to grease a loaf pan to prevent sticking. You may also find Espresso Coffee Cheesecake useful.
-
Mix the dry ingredients: In a large bowl, whisk together the flour, baking soda, salt, cinnamon, and ginger until well combined.
-
Combine wet ingredients: In another bowl, mix together the honey, brown sugar, and milk until nice and smooth.
-
Incorporate wet into dry: Gradually add the wet mixture into the dry ingredients, stirring gently until just combined. Be careful not to overmix; a few lumps are okay.
-
Add the candied peel: Fold in the candied orange peel, distributing it evenly throughout the batter.
-
Bake the bread: Pour the batter into the prepared loaf pan, smoothing the top. Bake in the preheated oven for about 50-60 minutes, or until a toothpick inserted in the center comes out clean.
-
Cool and slice: Once baked, allow the pain d’épices to cool in the pan for 10 minutes before transferring it to a wire rack. Once fully cooled, slice to serve.
Tips for the best results
- Ensure your baking soda is fresh; expired baking soda may not give the loaf the lift it needs.
- For added flavor, consider toasting the spices lightly in a dry pan before adding them to the batter.
- When measuring flour, spoon it into the measuring cup and level it off to avoid packing the flour, which could lead to a dense loaf.
Common mistakes to avoid
- Overbaking: If you bake it too long, the bread can become dry. Start checking for doneness a few minutes early to ensure a moist loaf.
- Under-mixing: While it’s important not to overmix, make sure the wet and dry ingredients are sufficiently combined or your loaf may not rise properly.
- Skipping the cooling period: Slicing too early can result in a crumbly texture. Allow it to cool completely for the best results.
Variations
- Nuts and seeds: Add chopped nuts such as walnuts or almonds for extra crunch and flavor.
- Spice it up: Experiment with adding nutmeg or allspice for a different flavor profile.
- Fruits addition: Incorporate dried fruits like raisins or apricots to bring sweetness and texture into the mix.
Storage and reheating
Pain d’Épices can be stored in an airtight container at room temperature for up to one week. It can also be refrigerated for up to two weeks. To reheat, simply slice and warm in a toaster or microwave for a few seconds to enjoy that fresh-baked aroma.
Frequently asked questions
- Can I use whole wheat flour?
Yes, substituting half of the all-purpose flour with whole wheat flour will add more fiber and earthy flavor. - What can I serve it with?
It pairs well with cream cheese, butter, or a slice of sharp cheese for a delicious breakfast or snack. - Can I freeze Pain d’Épices?
Absolutely! Wrap it tightly in plastic wrap and place it in a freezer bag. It can be frozen for up to three months.
Final thoughts
As you slice into your freshly baked pain d’épices, let the memories of shared moments and comforting aromas fill your kitchen, just as it did in my grandmother’s home. This is more than just bread; it’s a tradition steeped in warmth and love, bringing people together one slice at a time.
Conclusion
Pain d’Épices is not only a delicious treat but also a gateway to exploring delightful variations and traditional recipes. To further your culinary journey, check out this pain d’épices recipe that caters to dietary preferences. For a more luxurious dessert experience, consider trying this pain d’épices recipe by David Lebovitz, which offers a unique twist sure to impress. Happy baking!